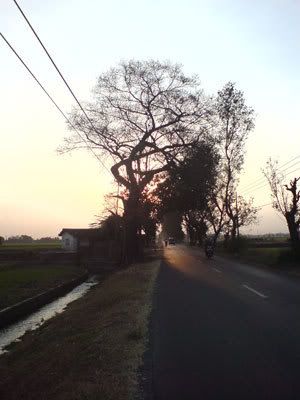
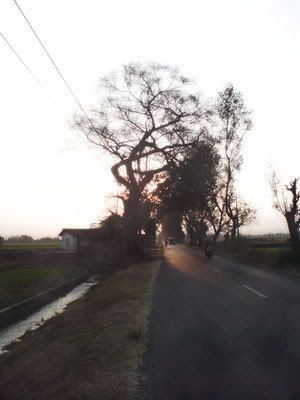
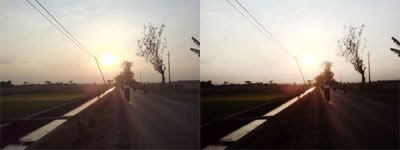
1. Begin by choosing a photo, I choose this:
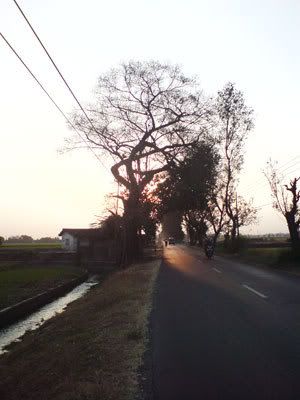
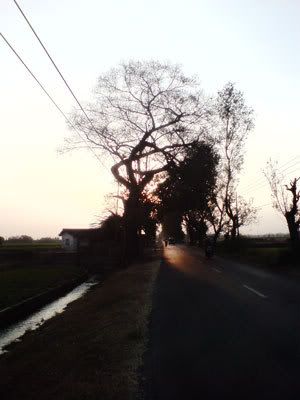
2. Go to image>adjustments>levels (CTRL+L) and brighten the image a bit. You may also go to image>adjustments>brightness/contrast. This is what I came up with:
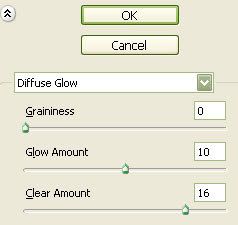
3. Hit ‘D’ on your keyboard to reset your foreground and background colors. Then switch foreground color to white. Next, Go to filter>distort>diffuse glow and apply similar settings to this:
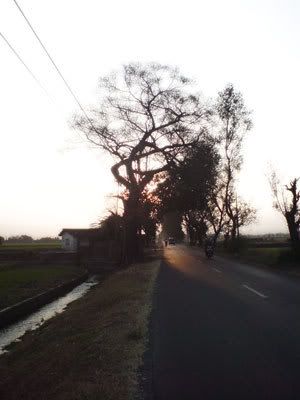
And see the result :
4. In the same layer, enter quick mask mode by pressing ‘Q’. Go to filter>render>difference clouds and then hit ‘Q’ again. Your picture should now have random selection.
5. Do not deselect yet. Select any decently large brush size, change the opacity to 10% and leave the flow at 100%. Brush all, it should then look something like this and deselect them ctrl+D
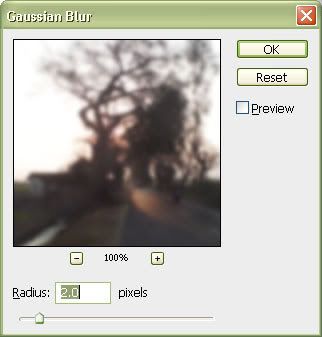
6. Duplicate the layer (CTRL+J). Select the top layer simply by clicking it in the layers palette. Go to filter>blur>gaussian blur. Apply these settings:
7. Still working with the top layer, on the top left of the layers palette change the blending mode form normal to soft light and merge it.
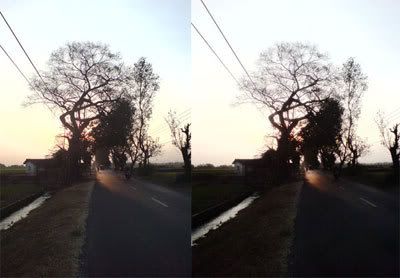
Bonus view :
No comments:
Post a Comment