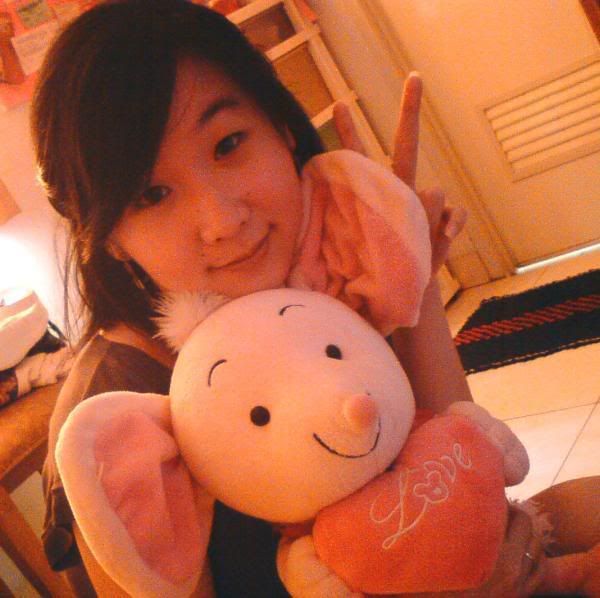
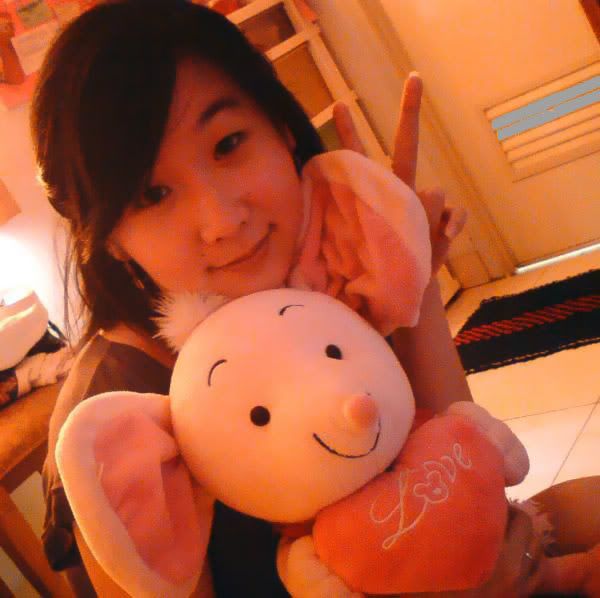
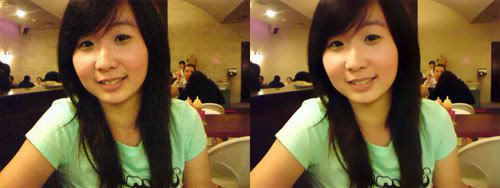
In this example, we will work with the shot of an attractive girl (model : Melissa).
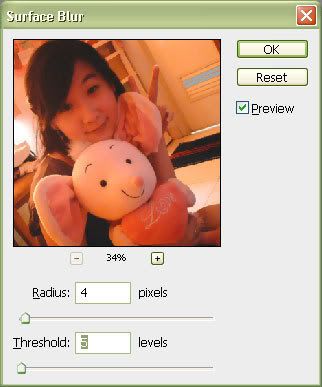
1. Create the surface blur.
Choose Filter > Blur > Surface Blur. Surface Blur is a new Photoshop CS2 filter that is especially useful in this application. This blur maintains the major edge transitions, but it also manages to create a very smooth blur. You’ll want to adjust the sliders so that you can completely smooth the wrinkles and skin texture while leaving major features intact.
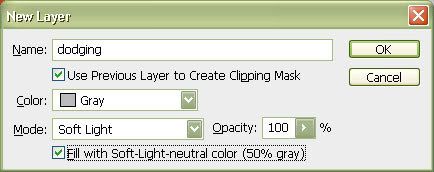
2. Create clipping mask dodge layer.
Now we want to create a Dodge And Burn layer and dodge out any unattractive wrinkles that are left—this is very similar to what we did before. Option/Alt+click the New Layer icon at the bottom of the Layers palette.
This will bring up the New Layer dialog. Change the Mode to Soft Light, and then check the Fill With Soft-Light-Neutral Color box. Make sure you check Use Previous Layer To Create Clipping Mask.
This will fill the New Layer with 50 percent gray. You want to keep using the mask you created with the Blur layer.
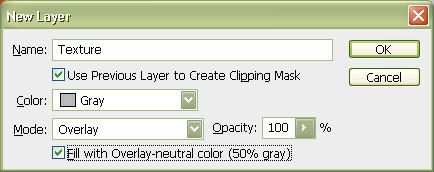
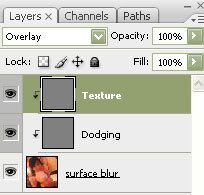
3. Create clipping mask texture layer.
Once again, create a new Gray Overlay layer. Option/Alt+click the New Layer icon at the bottom of the Layers palette to bring up the New Layer dialog. Check the Use Previous Layer To Create Clipping Mask box, select Overlay from the Mode dropdown, and check the Fill With Overlay Neutral Color (50% gray) box.
Now we can see we have 3 layer.
4. Retouching photo with filter effect.
Select the Overlay Texture layer and run the Noise filter on it (Filter > Noise >
Add Noise).
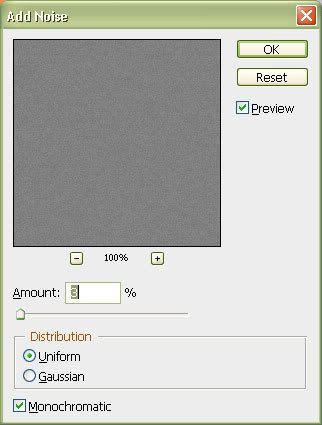
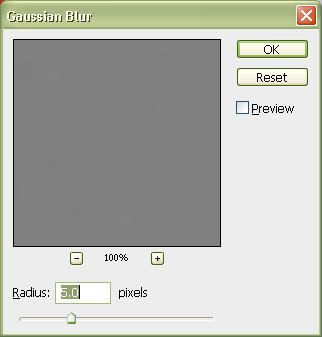
Many photographers would stop here, but this noise is too sharp for our purposes. With the Gray Overlay Texture still selected, run a Blur filter (Filter > Blur > Gaussian Blur), use just enough Blur to soften the edges of the noise without completely smoothing it.
See the final result :
Bonus view :

No comments:
Post a Comment